Knowledge Base

Creating and Managing Websites in Enhance

Creating and Managing Websites in Enhance

Your websites are the stars of the show, and Enhance makes managing them easier than ever. Whether you're hosting a simple blog or a complex e-commerce empire, this guide has you covered.

Viewing Your Websites

From the dashboard, click Websites in the sidebar to see all your hosted domains.
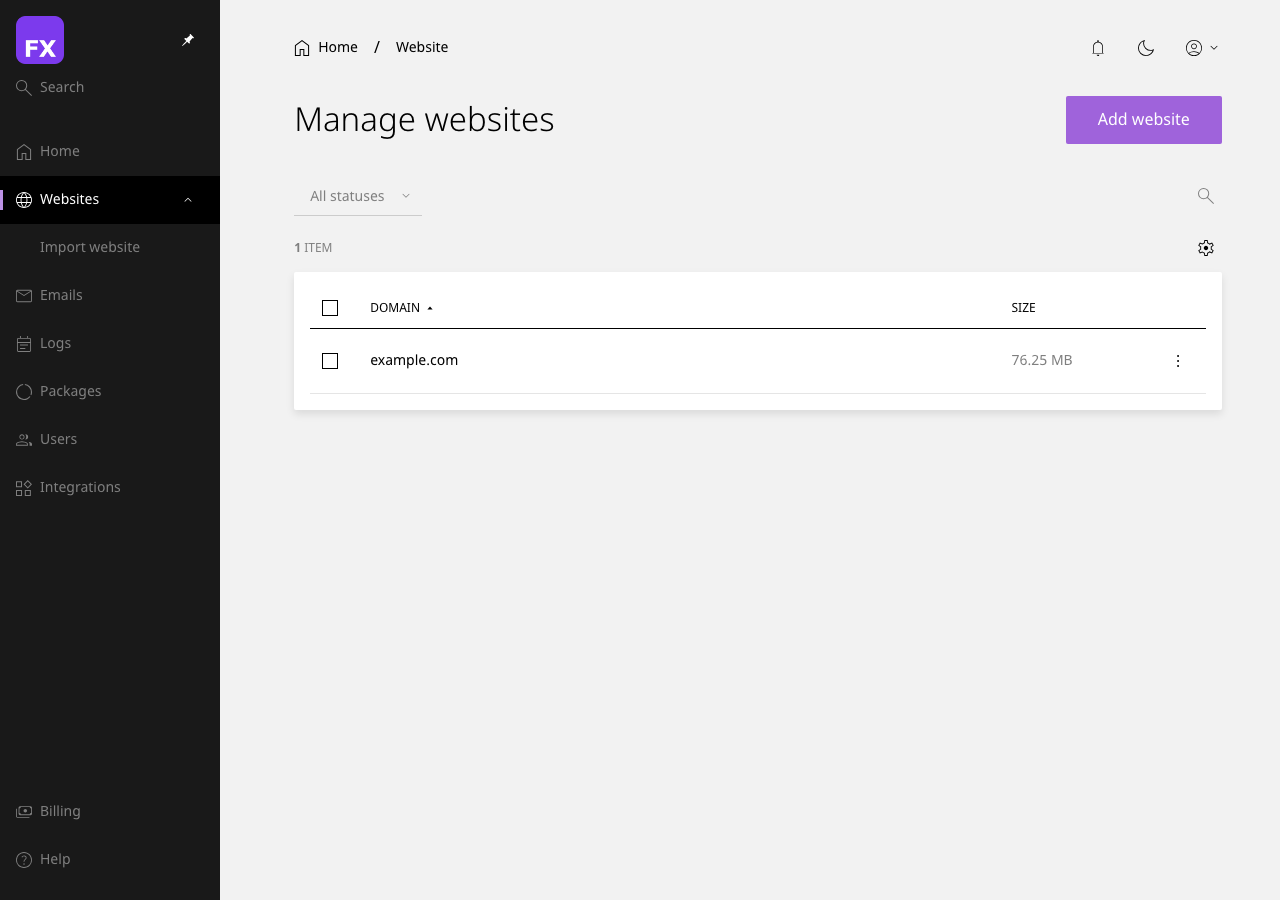
Websites list view showing domains with status indicators

Each website shows:

  • Domain name - Your website address
  • Status - Active, suspended, or pending
  • PHP Version - Which PHP version is running
  • Web Server - Apache, Nginx, LiteSpeed, or OpenLiteSpeed
  • Storage Used - How much disk space you're using

Adding a New Website

Ready to add a new website to your hosting? Here's how:

  1. Click the + Add Website button
  2. Enter your domain name (e.g., myawesomewebsite.com)
  3. Select your PHP version (we recommend the latest stable version)
  4. Choose your web server type
  5. Click Create Website

[SCREENSHOT: The Add Website form with domain, PHP version, and web server options]

Pro Tip: If your domain isn't registered with us, you'll need to update your nameservers or create an A record pointing to your server's IP address. We'll display this information after creating the website.

Website Settings

Click on any website to access its settings. Here's what you can configure:

General Settings

[SCREENSHOT: Website general settings panel]

  • Document Root - Where your website files live (usually /public_html)
  • PHP Version - Switch between PHP 7.4, 8.0, 8.1, 8.2, or 8.3
  • Web Server - Switch between Nginx, Apache, LiteSpeed, or OpenLiteSpeed on the fly

Switching Web Servers

One of Enhance's superpowers is the ability to switch web servers without any downtime:

  1. Go to your website settings
  2. Find the Web Server dropdown
  3. Select your preferred server
  4. Click Save

That's it! Your website will seamlessly switch to the new web server.

[SCREENSHOT: The web server dropdown showing all available options]

Managing Subdomains

Need a subdomain like blog.yourdomain.com? Easy peasy:

  1. Click on your main website
  2. Navigate to Subdomains
  3. Click + Add Subdomain
  4. Enter the subdomain name (just the prefix, e.g., blog)
  5. Set the document root
  6. Click Create

[SCREENSHOT: The subdomain creation form]

Redirects and Aliases

Domain Aliases

Want www.yourdomain.com and yourdomain.com to both work? Set up an alias:

  1. Go to your website settings
  2. Click Domain Aliases
  3. Add the alternative domain
  4. Save your changes

URL Redirects

Need to redirect visitors from one URL to another?

  1. Navigate to Redirects in your website settings
  2. Click + Add Redirect
  3. Enter the source path and destination URL
  4. Choose redirect type (301 permanent or 302 temporary)
  5. Save

[SCREENSHOT: The URL redirects configuration panel]

Resource Limits

Enhance lets you set hard limits on resources to keep websites running smoothly:

  • CPU - Processing power allocation
  • Memory - RAM usage limits
  • I/O - Disk read/write speeds
  • IOPS - Input/output operations per second

[SCREENSHOT: Resource limits configuration showing CPU, memory, and I/O settings]

Website Statistics

Want to know how your website is performing? Check the Statistics section for:

  • Bandwidth usage
  • Disk space consumption
  • Request counts
  • Error logs

[SCREENSHOT: Website statistics showing graphs for bandwidth and requests]

Suspending and Deleting Websites

Suspending a Website

Need to temporarily take a website offline?

  1. Go to the website settings
  2. Click Suspend Website
  3. Confirm your choice

The website will display a suspension notice to visitors. You can unsuspend at any time.

Deleting a Website

Warning: This is permanent and will delete all files, databases, and email accounts associated with the website.

  1. Go to website settings
  2. Scroll to the danger zone
  3. Click Delete Website
  4. Type the domain name to confirm
  5. Click Delete Forever

[SCREENSHOT: The delete confirmation dialog with the domain name input field]


Next Steps: Now that your website is set up, learn how to manage your files with our File Manager Guide.

Please rate this article to help us improve our Knowledge Base.

0 0