Backups in Enhance: Keeping Your Data Safe
You know what they say: there are two types of people - those who backup their data, and those who haven't lost everything yet. Don't be the second type!
Understanding Enhance Backups
Enhance includes a robust backup system with:
- Incremental backups - Only changes are stored, saving space and time
- Automatic scheduling - Set it and forget it
- Granular restoration - Restore individual files, databases, or entire websites
- S3 compatibility - Store backups off-site for extra safety
Backup Types
Full Backups
A complete snapshot of everything:
- All website files
- All databases
- All email accounts and messages
- All settings and configurations
Incremental Backups
After the initial full backup, only changes are recorded. This is:
- Faster - Only new/modified files are processed
- Efficient - Uses less storage space
- Smart - Allows restoration to any point in time
Configuring Automatic Backups
Setting Up Scheduled Backups
- Navigate to Backups in the sidebar
- Click Backup Settings or Configure
- Enable automatic backups
- Set your backup schedule:
- Daily - Best for active websites (recommended)
- Weekly - Good for less frequently updated sites
- Monthly - Minimum recommended frequency
- Choose what to backup:
- Set retention period (how many backups to keep)
- Click Save
Backup Storage Location
Enhance can store backups in multiple locations:
| Location |
Pros |
Cons |
| Local |
Fast restoration |
Uses server space; vulnerable to server failure |
| Remote (S3) |
Off-site safety; unlimited space |
Slightly slower restoration |
| Both |
Best of both worlds |
Uses more total storage |
Best Practice: Always store at least one copy of your backups remotely. If the server catches fire (metaphorically or literally), your data survives!
Creating Manual Backups
Sometimes you need a backup right now - before a big update, migration, or that experimental code change.
On-Demand Backup
- Go to Backups
- Click Create Backup or Backup Now
- Select what to include:
- Full backup (everything)
- Files only
- Databases only
- Specific website
- Click Start Backup
Pro Tip: Always create a backup before updating WordPress, installing new plugins, or making significant code changes. Future you will thank present you!
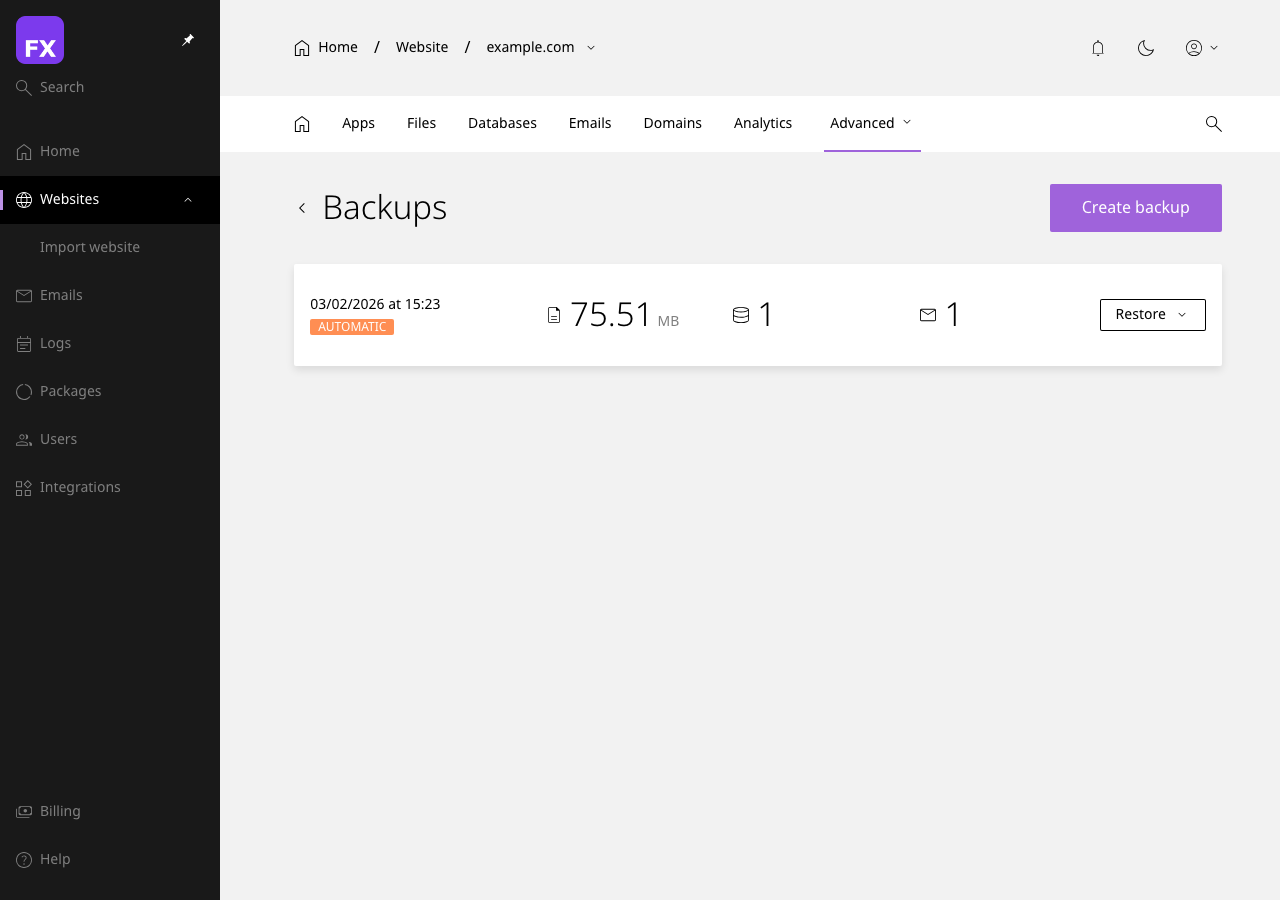
Viewing Backup History
- Navigate to Backups
- View the list of all available backups
- Each backup shows:
- Date and time created
- Backup type (full/incremental)
- Size
- Contents (files, databases, etc.)
Restoring from Backup
Restoring Everything
Nuclear option - restores your entire account to a previous state:
- Go to Backups
- Find the backup you want to restore
- Click Restore
- Select Full Restore
- Confirm (seriously, make sure this is what you want!)
- Wait for restoration to complete
Restoring Specific Files
Only need to restore that one file you accidentally deleted?
- Find the backup containing the file
- Click Browse or Explore Backup
- Navigate to the file you need
- Select the file(s)
- Click Restore Selected
- Choose whether to overwrite existing files
[SCREENSHOT: Backup file browser showing directory structure with restore options]
Restoring a Database
- Find the relevant backup
- Click Restore Database
- Select which database to restore
- Choose the target:
- Restore over existing database
- Restore as new database (safer for testing)
- Confirm and wait
Restoring Emails
- Find the backup with your emails
- Click Restore Email
- Select the email account(s)
- Confirm restoration
Downloading Backups
Want a local copy of your backup?
- Go to your backup list
- Click Download on the backup you want
- Choose the format:
.tar.gz for files.sql.gz for databases
- Download and store safely
[SCREENSHOT: Download backup dialog with format options]
Backup Best Practices
The 3-2-1 Rule
A time-tested backup strategy:
- 3 copies of your data
- 2 different storage types (e.g., server + cloud)
- 1 copy off-site
Testing Your Backups
A backup you've never tested is just a hope, not a guarantee:
- Periodically download a backup
- Restore to a test environment
- Verify everything works
- Sleep soundly knowing your backups actually work
What to Backup
At minimum, always backup:
- Website files (especially
/public_html)
- Databases (your content lives here!)
- Configuration files
- Email (if important to you)
Retention Recommendations
| Website Type |
Daily |
Weekly |
Monthly |
| Blog |
7 days |
4 weeks |
3 months |
| E-commerce |
14 days |
8 weeks |
12 months |
| Critical Business |
30 days |
12 weeks |
24 months |
Troubleshooting Backup Issues
"Backup Failed"
Common causes:
- Disk full - Free up space or reduce retention
- Files too large - Some files might exceed limits
- Permission errors - Check file permissions
- Timeout - Very large sites might need adjusted timeout settings
"Restoration Failed"
- Backup corrupted - Try an older backup
- Disk space - Ensure enough space for restoration
- Permission issues - Restore might need admin privileges
"Can't Find My Backup"
- Check the date range filter
- Ensure you're looking at the right website
- Verify backups were actually being created (check settings)
- Old backups may have been deleted based on retention policy
External Backup Storage (S3)
For ultimate peace of mind, store backups in Amazon S3 or compatible storage:
- Go to Backups > Settings
- Enable Remote Storage
- Enter your S3 credentials:
- Access Key ID
- Secret Access Key
- Bucket Name
- Region
- Test the connection
- Save settings
Compatible S3 alternatives:
- DigitalOcean Spaces
- Backblaze B2
- Wasabi
- MinIO
[SCREENSHOT: S3 configuration form with access keys and bucket settings]
Next Steps: Secure your website with our Security Features Guide.
