Getting Started with Zimbra Webmail
Welcome to Zimbra! Your new email platform is packed with features that go far beyond just sending and receiving messages. Let's get you up and running.
What is Zimbra?
Zimbra is a full-featured messaging and collaboration platform that includes:
- Email - Powerful webmail with advanced features
- Calendar - Schedule meetings, set reminders, share calendars
- Contacts - Manage your address book and distribution lists
- Tasks - Keep track of your to-do items
- Briefcase - Store and share documents
- Chat - Instant messaging with colleagues
Think of it as your complete digital office in a browser!
Accessing Zimbra Webmail
Logging In
- Open your web browser
- Navigate to your Zimbra webmail URL (provided in your welcome email)
- Enter your email address and password
- Click Sign In
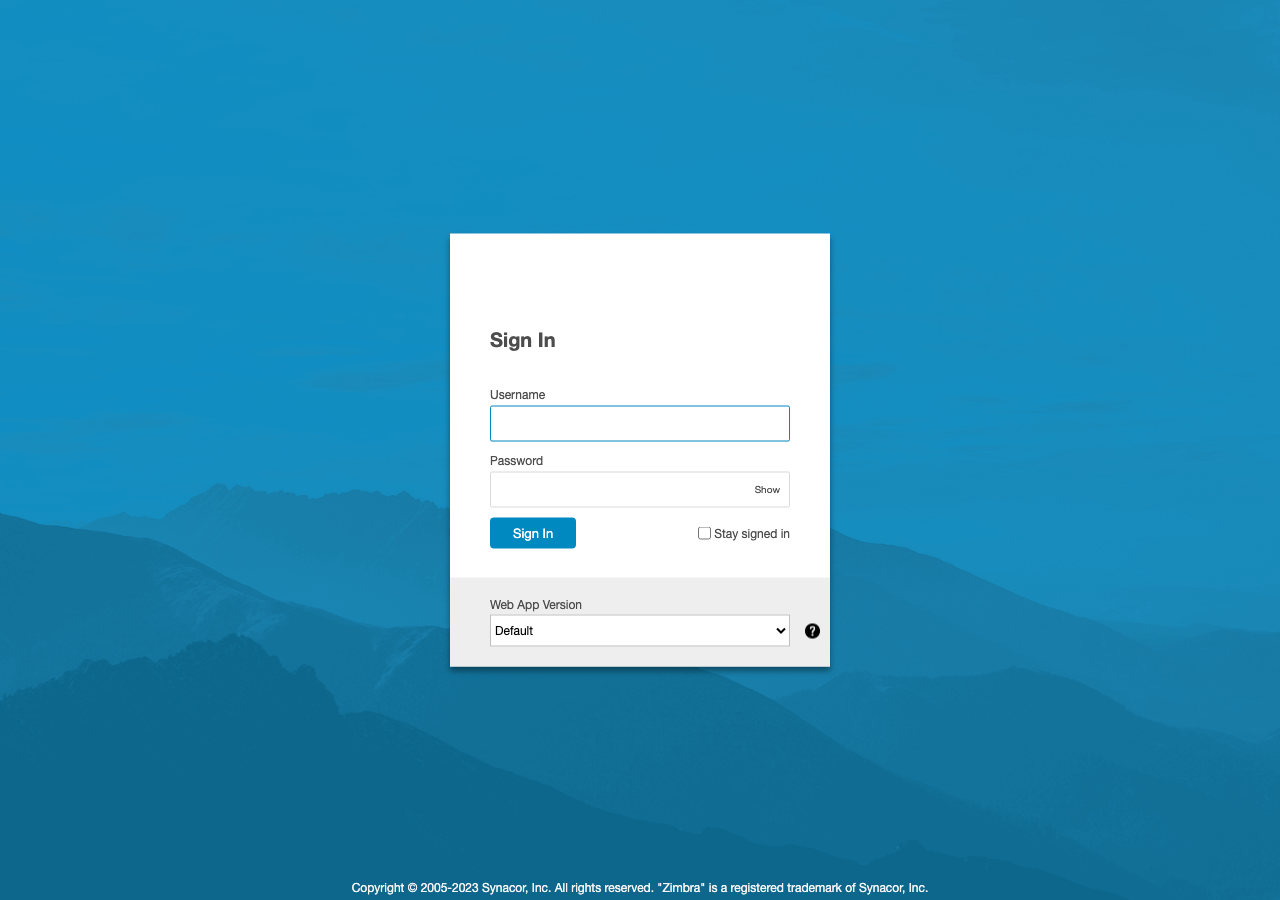
Tip: Bookmark the login page for quick access. Our webmail is at https://mail.fxrm.com.
First-Time Setup
When you first log in, you might be prompted to:
- Set your time zone
- Choose your preferred language
- Configure your display preferences
Take a moment to set these correctly - it'll save you headaches later!
The Zimbra Interface
Modern Web App vs Classic
Zimbra offers two interface styles:
| Interface |
Best For |
| Modern Web App |
Clean design, mobile-friendly, newer features |
| Classic |
Traditional layout, more options visible at once |
You can switch between them in Preferences > General.
Navigation Overview
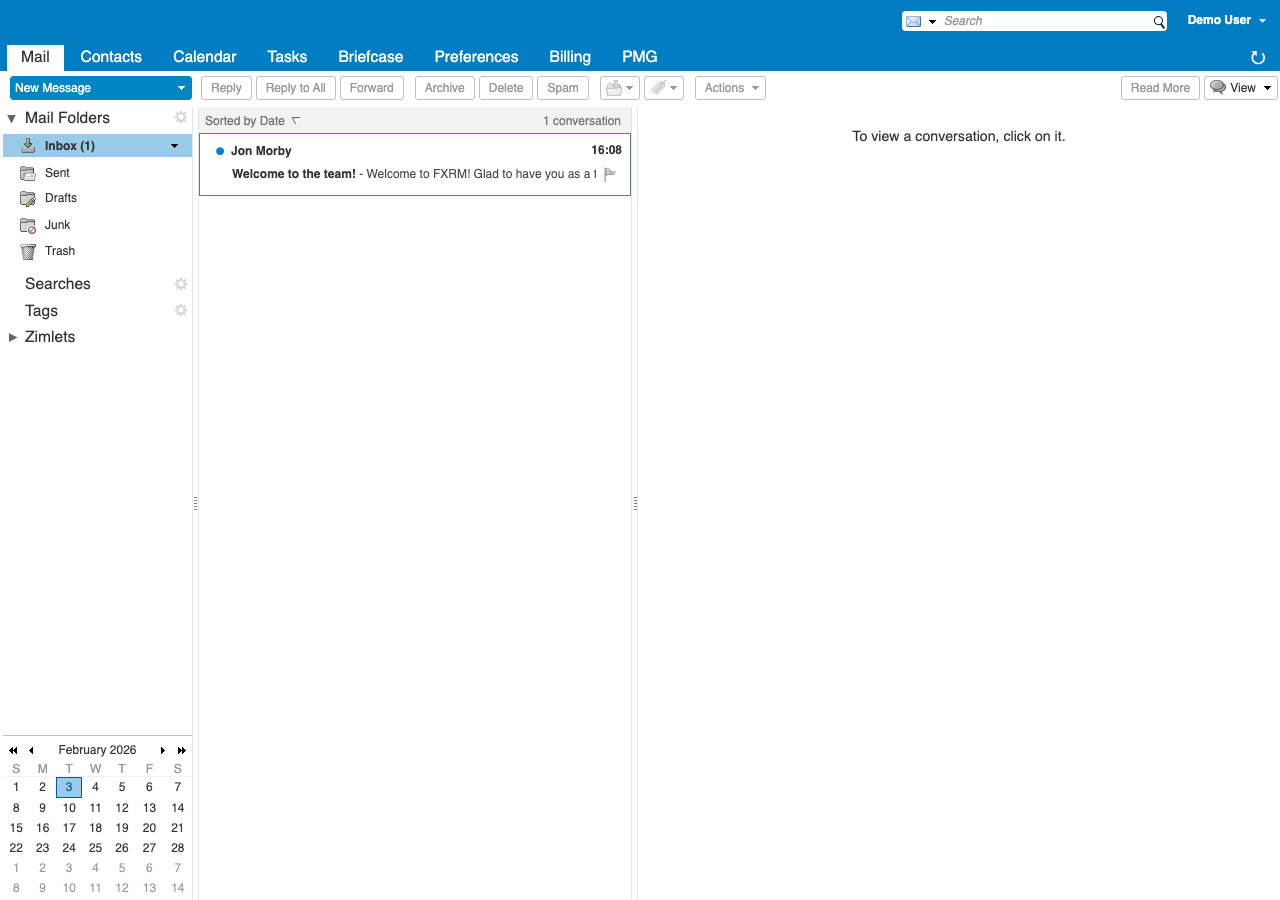
The Zimbra interface is divided into key areas:
- Navigation Panel (Left) - Switch between Mail, Calendar, Contacts, Tasks, Briefcase
- Folder List - Your inbox, sent items, drafts, and custom folders
- Message List - Preview of emails in the selected folder
- Reading Pane - View the selected message content
- Toolbar - Common actions like compose, reply, delete
Composing Your First Email
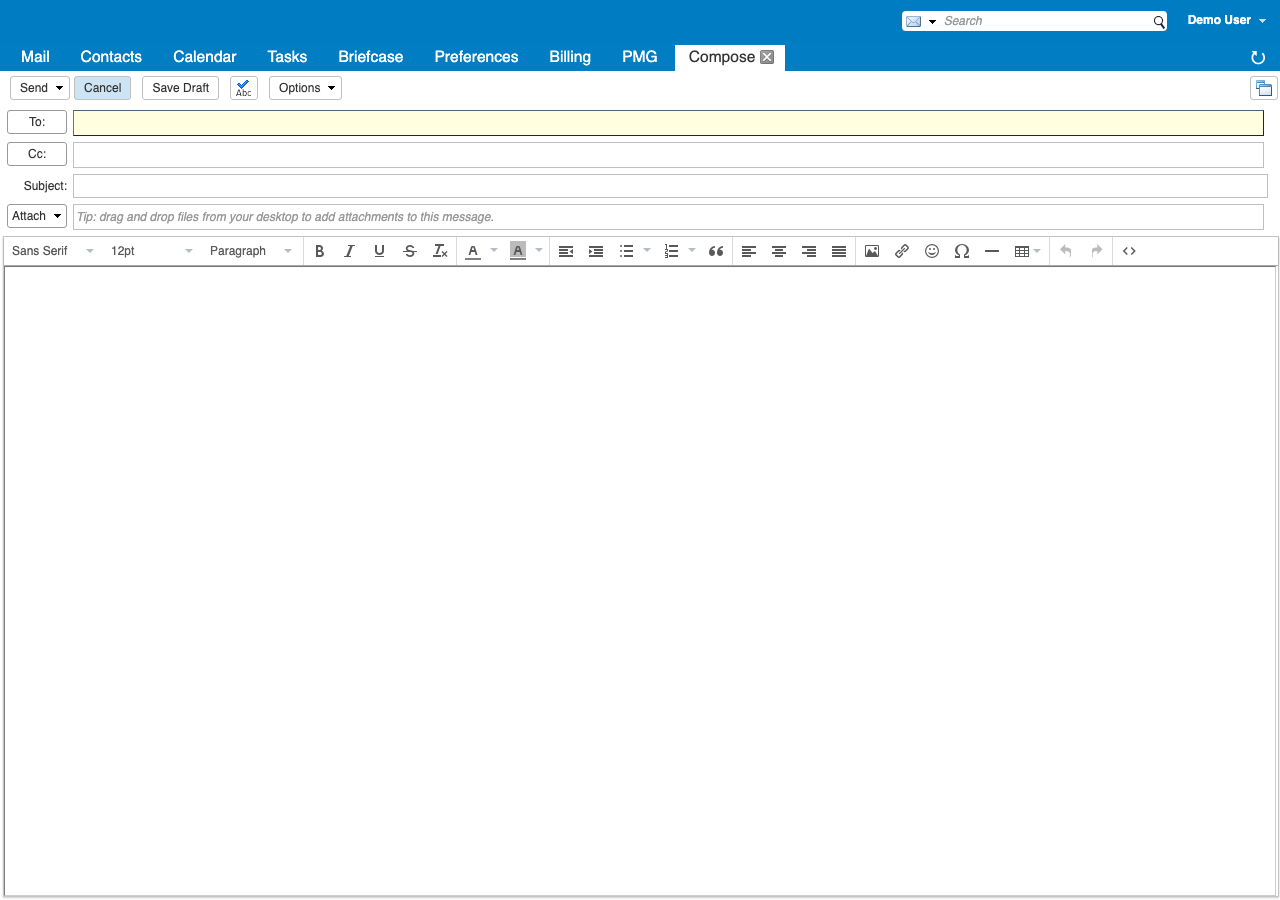
- Click the New Message button (or press
C)
- Enter the recipient's email address in the To field
- Add a Subject line
- Type your message in the body
- Click Send
Formatting Options
The compose window includes a rich text editor:
- Bold, Italic, Underline
- Bullet and numbered lists
- Text colour and highlighting
- Insert links, images, and tables
- Attach files
Attachments
To attach a file:
- Click the Attach button (paperclip icon)
- Select files from your computer
- Wait for the upload to complete
- Send your email
Size Limit: We support attachments up to 25MB. For larger files, consider using the Briefcase or a file sharing service.
Managing Your Inbox
Reading Emails
- Single click - Preview in reading pane
- Double click - Open in new tab/window
- Right click - Access context menu with more options
Organising with Folders
Create folders to keep your inbox tidy:
- Right-click on Folders in the left panel
- Select New Folder
- Name your folder
- Click OK
Drag and drop emails to move them between folders.
Using Tags
Tags are like labels - you can apply multiple tags to a single email:
- Right-click an email
- Select Tag
- Choose an existing tag or create a new one
Tags are colour-coded for easy visual identification.
Search
Zimbra's search is powerful:
- Type in the search box and press Enter
- Use operators:
from:john, subject:meeting, has:attachment
- Save frequent searches for quick access
Essential Keyboard Shortcuts
| Shortcut |
Action |
C |
Compose new message |
R |
Reply |
A |
Reply all |
F |
Forward |
Delete |
Move to Trash |
M |
Move to folder |
/ |
Focus search |
J / K |
Next / Previous message |
Press ? to see all available shortcuts.
Preferences to Configure
Before you dive in, consider customising these settings:
Preferences > Mail
- Display messages - Choose HTML or plain text
- Check mail every - Set auto-refresh interval
- Message preview - Enable/disable reading pane
Preferences > Composing
- Reply/Forward - Include original message?
- Signature - Set up your email signature
- Default font - Choose your preferred style
Preferences > Accounts
- Persona - Create alternative "from" addresses
- External accounts - Import mail from other providers
Your Email Signature
Set up a professional signature:
- Go to Preferences > Signatures
- Click New Signature
- Enter your signature text (name, title, contact details)
- Format as desired
- Set as default for new messages and/or replies
- Click Save
[SCREENSHOT: Signature editor with formatted signature example]
Getting Help
- Built-in Help - Click the ? icon in the toolbar
- Keyboard Shortcuts - Press
? anywhere in Zimbra
- FXRM Support - Open a support ticket at accounts.fxrm.com
Next Steps: Learn about Configuring Email Clients to access your Zimbra email from Outlook, Thunderbird, or your mobile device.
